
Panel Interface & Workflow
The AI Chat panel consists of four parts: the title bar, the message area, the prompt selector, and the input area.
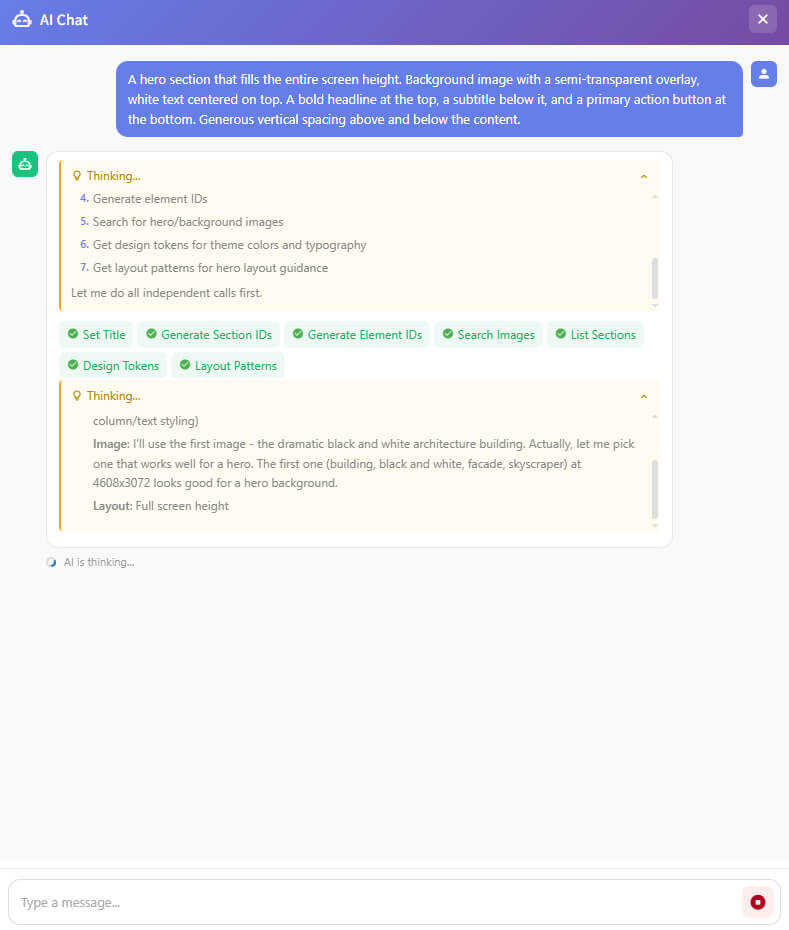
Panel Layout
Title Bar
Located at the top of the panel, it shows the "AI Chat" title and three action buttons. It also serves as the drag handle for the panel — press and hold the title bar to drag the panel to a new position.
| Button | Icon | Description |
|---|---|---|
| New Chat | Start a new chat session | |
| History | View past conversations | |
| Close | Close the panel |
Message Area
Displays the conversation content, including your questions and the AI's replies.
- First open: Shows a welcome guide, prompting you to select a preset prompt or enter a message directly.
- During a conversation: Your questions and the AI's replies are shown as separate chat bubbles.
Prompt Selector
Located below the message area, it provides a set of preset prompt templates (marked with the icon). Click the "Select a prompt" dropdown to browse and pick one; the template content is then auto-filled into the input box, where you can further edit it before sending.
The templates cover common scenarios such as generating a specific type of block, refining copy, or suggesting a color scheme, so you don't have to write prompts from scratch.
Input Area
The text input box at the bottom of the panel is used to type messages and supports multi-line text. The send button on the right is enabled when there is content and automatically disabled when empty.
Workflow
Basic Usage
- Click the AI entry button in the bottom-right corner to open the AI Chat panel.
- Type your request in the input box, for example, "Help me generate a product intro section".
- Click the send button .
- The AI returns the generated result in the message area.
- Use the action entry in the reply to apply the generated content to the page.
Using Preset Templates
When you don't want to write a prompt from scratch, click the "Select a prompt" dropdown and choose a template that fits your needs. The content is auto-filled into the input box; edit it as needed, then send.
Managing Conversations
| Goal | Action |
|---|---|
| Start a brand-new topic | Click New Chat in the title bar |
| Review previous conversations | Click History and pick from the list |
| Reposition the panel | Press and hold the title bar, then drag |